The NordVPN Windows client is easy to install and use. In our guide we will walk you through installing and configuring the app. Whether you just want to connect to the nearest server or take advantage of their advanced features, we have you covered. If you haven’t signed up already, you can take advantage of our NordVPN coupon for a discount on their service.
Download and Install NordVPN Windows Client
You can download the NordVPN Windows app from the client download page of their website. This can be accessed from clicking on “Download VPN” from the top menu. Once the download page opens, click on the “Download App” button. This will download the appropriate NordVPN client installer to your machine.
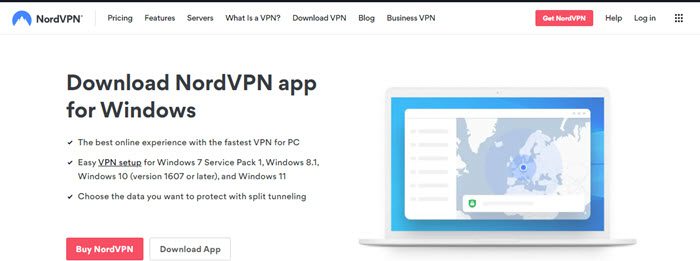
This will bring up a dialog window that will let you save the Windows client installation file to your computer. The NordVPN client supports Windows 7 Service Pack 1, Windows 8.1, Windows 10 (version 1607 or later), and Windows 11.
Once the client is downloaded to your computer, right-click on the file and choose “Run as Administrator”. This will complete the installation of the Windows client and it will open for the first time. It will create a desktop shortcut for subsequent launches.
Log in to the App for the First Time
The first time that the client launches, it will require that you enter your NordVPN credentials to verify that you are authorized to use it. Enter your NordVPN “Username” and “Password” that you obtained from your welcoming email. Clicking on the “Log In” button will take you to a screen on the NordVPN website to log in. From there it will open the VPN app and save your password for future use. You will not have to sign in each time you use the client.
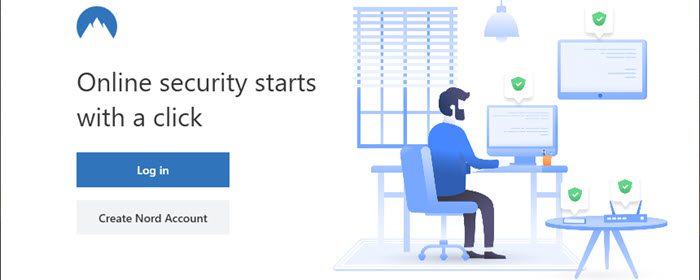
There is a link here to create an account if you do not already have one. Also, there is a link to recover a “Lost password”. If you have forgotten your password, you can click this option to start the process to reset it. Before we log into the Windows client itself, let us take a look at the “Settings” and “Help” screens that can also be accessed from the “Login” screen.
Quickly Connect to the NordVPN Network
Let’s jump right in and connect to a NordVPN server without making any changes to the app configuration. As you can see from the image below, you can connect to any NordVPN server with the clicking on the location. The app lists recent servers first, followed by specialty servers, and then all countries listed in alphabetical order. Some countries, like the United States, have multiple server locations. In this case you can click on the “…” beside the country name and select a specific city. From there you can select which individual server you wish to connect to.
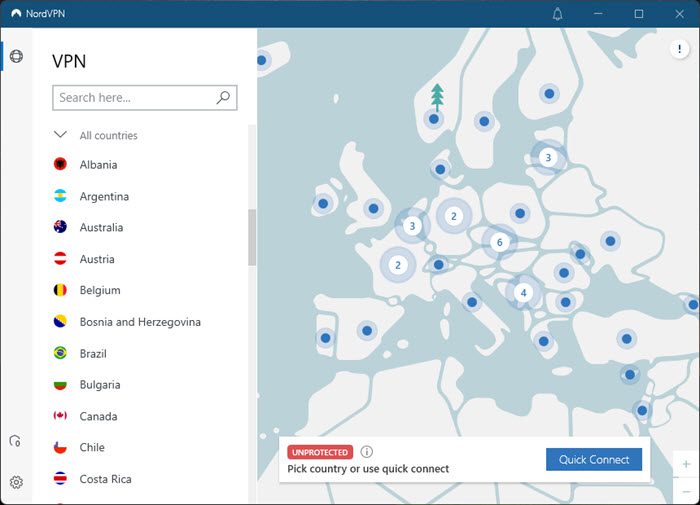
To connect to NordVPN, simply click on any country (or city) name to the left, or any country on the map to the right. You can also click the “Quick Connect” button to let the app select a server for you. In mose cases this will connect you to a nearby server for the best performance.
NordVPN Windows App Settings
That’s all there is to connecting to the NordVPN network with the default features. This is enough for most users. However, you may want to configure the app to better suit your needs. To do so you will want to open the settings tab by clicking on the gear icon in the lower left hand corner of the app.
General Settings
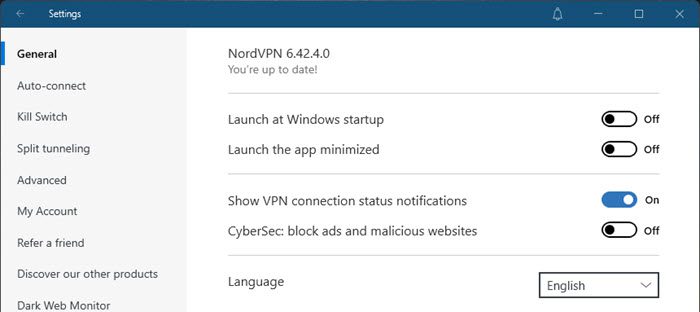
The “General” tab will provide you with the following options:
- Launch at Windows startup – this will launch the app when Windows starts
- Launch the app minimized – this will place the app in your system tray when automatically launched
- Shows VPN connection status notifications – this will notify you when you connect or disconnect from a NordVPN server.
- Cybersec block ads and malicious websites
Auto-connect Feature
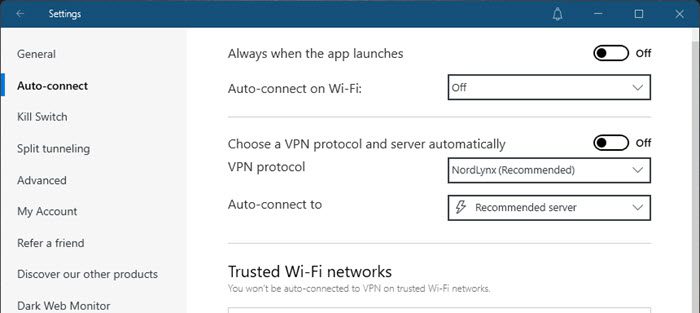
The next settings tab is “Auto-connect“. You can set up the app to:
- Always when the app launches – auto-connect when the app fires up
- Auto-connect on Wi-Fi – set for all networks or unsecure networks
- Trusted Wi-Fi networks – list networks you do not want to auto-connect to NordVPN when using
Kill Switch – Internet and App

The “Kill Switch” tab will let you set up:
- Internet kill switch – disable your Internet anytime the VPN disconnects
- App kill switch – you can set the same kill switch feature at the app level
Split Tunneling

The “Split tunneling” tab is powerful and will let you:
- Split tunneling – choose which apps connect through the VPN
- Disable VPN for selected apps – do not connect these apps through the VPN network
- Enable VPN for selected apps only – connect only the apps in this list through the VPN network
Advanced Settings
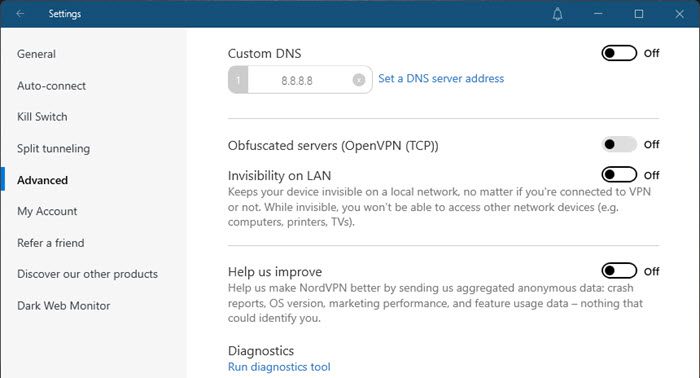
The “Advanced” tab will help you configure:
- Custom DNS – set a custom DNS or use NordVPN’s private DNS
- Obfuscated servers – turn on in regions like China that strongly try to block VPN use
- Invisibility on LAN – this will keep your computer invisible on the local network.
- Help us improve – sends anonymous data to NordPVN.
- Diagnostics – run diagnostic tool. Only do this if asked to do so by NordVPN support.
Specialty Servers
While most users will simply connect to the closest VPN server, there are times when you might want to turn to NordVPN’s specialty servers. They have specialized servers for:
- Double VPN – this will router your Internet traffic through two VPN servers. This will double encrypt your data making your connection more secure. The trade off being a very slow connection.
- Onion Over VPN – sends your traffic through both the NordVPN network and the Onion network before reaching the Internet.
- P2P – fast servers in specified locations with support for P2P downloads.
Conclusion
You can see that whether you chose to connect by country or by server, The NordVPN Windows client makes it easy for you to connect to one of their VPN servers. Just a couple of clicks will have your privacy protected and all of your Internet traffic encrypted.
Once you sign up for an account, they will send you a welcoming email with your username and password. You can use these to connect to their VPN network of servers using your chosen client software. This will allow you to immediately enjoy the peace of mind offered by their service. Alternately, you can also use this information and their tutorials to manually setup their service for other devices that you may have.

